
The two "secrets" I have decided to use with this recipe is sour cream & mashed potatoes. I do not use the fake from the box or potato flakes, not that you couldent however I never buy those items, but I always have baked potatoes in my pantry. Personally there is no reason not to use the real stuff, its healthier for you and it much more cost effective. You only need one potato. I personally like baked/russet potato for this recipe because of the course texture of this type of potato, red or gold is fine if that all you have.
This is a VERY wet dough and it may take more time. I personally like to add a little bit of flour at a time and work dough gradually to get the correct soft fluffy dough. When you put to much flour into your dough that can create a heavy or dense dough. I do all my baking by hand with no stand mixer. If you have a stand mixer I am sure it will go faster and be less of a mess. BUT just know for those of you like me, you can do this by hand!
Dough
1 or 2 russet potato you need 1/8 cup of mashed potato
2 cups of all purpose white unbleached flour, plus 1 cup and 1/4 cup for dusting
1 tSp of salt
1 package of Fast Acting Yeast1/4 cup of white sugar
1/4 cup warm water (110 degrees)
1/2 cup milk
6 tBsp melted butter
2 tBsp sour cream
2 tSp of half & half (if need you can just use milk)
1 egg room temperature
Plan on 2-4 hours from start to finish.
Filling
1/4 cup brown sugar (brown or light)
1/8 cup white sugar
1 tBsp cinnamon
2 tBsp soft butter
Frosting
2 Cups of powder sugar
2 tSp vanilla extract
2 to 4 tSp of milk (depending on how thin)
Peal and dice your potato


Once your potatoes are done, drain water out. I use a medium size mesh drainer because it serves also as a "rice masher". If you have a rice masher you can use it. However if you are like me and don't have a rice masher, don't go running out to buy one just for this recipe. I used my mesh drainer and it worked perfectly!!! My mesh drainer only cost me under $3 from Walmart and its a tool you can use more often.If your don't have a mesh drainer, no despair, just make sure your potatoes are mashed and you have no lumps at all! Best way is to make sure your have boiled your potatoes until they practically fall apart in the boiling water, and all you need is a fork to smash them.
Smash potatoes through mesh drainer with the bottom on your spoon (I used a spoon after my fork) into a separate bowl then measure out 1/8 cup of packed mashed potatoes then place back into your pan you used to boil potatoes. I had tons of leftover potatoes, and I just saved to use for another time or add to a dish as a thickener.


Take your room temperature egg (if you forgot go ahead and put in warm water, it only takes 5 minuets) in a separate bowl add egg and sour cream and milk and whisk together. Then you want to add 1/4 cup of your milk potato mixture to egg mixture and whisk together. This allows egg to reach the temperate to milk without the eggs getting scrambled. This is why its important not to have a hot milk mixture. After you whisked 1/4 milk mixture to your egg mixture, add rest of milk and whisk together.


This dough looks very wet, right? That's okay!! We want this. Let dough sit and rest covered for 10 minuets. Doing this allows the flour to absorb all the moisture and it will get fluffy. Doing this also allows the proper amount of flour to be added. If you skip this stage you may over flour your dough batter. After the 10 minutes is up, that one cup of flour can be used, however only mix together 1 or 2 tBsp at a time. This may be time consuming. You may not need the full amount of extra flour, or you may actually find you need the entire extra cup. Temperature and climate play a roll in this, so this is why its important not to just add the extra cup all at once.You probably think dough looks really wet still after adding the extra cup of flour, and you know, it is! It's very sticky and wet. However don't be scared to get it on you fingers. I choose to lay out my dough on a well floured surface. You will probably want to measure out another 1/4 cup of flour for dusting. but only add a little flour at a time onto surface. I choose knead on my floured surface instead of in my bowl. I use the french kneading method, you lift, smack, fold, lift, turn, smack, fold. Kneading by hand the traditional method can be hard with a wet dough. So if you need to knead in a clean bowl while dusting with flour, that fine, but it is much more fun the other way.


Once your dough feels like marshmallow texture, now your may be able to hand knead the traditional way. You will knead for 10 minuets at a time, then let dough rest for 5 min (cover with a towel while dough rest). Then knead for another 5 minuets. Its very hard to over knead your dough by hand. You can with a stand mixer. Please do not use my time for hand kneading for the stand mixer. I would say you can knead with your stand mixer for 5 minuets then let rest for 5 minuets, then knead again for 2 minuets.
Once your dough feels "tight", meaning it stays a nice full round shape, and slowly relaxes, you can lightly press your finger into dough, if dough bounces back quickly, your dough is done being kneaded. If the indent from your finger stays sunken, then you will need to knead for another 5 minutes (by hand), I even recommend you do this by hand and not use your stand mixture.


Place a towel or cover top with plastic wrap. If its a cold day or house is cold, I like to turn my oven on to get warm, around 250 degrees. Once oven has reached 250 degrees, I turn off then place bowl of dough into oven (still covered) and close door. This will allow dough to rise faster then in a cold environment. You don't need to to do this step, however your dough may take much longer to double in size. I only need to wait 45 minutes for my dough to double in size. I remove from oven and let sit uncovered for another 15 minutes if my dough needs to be fuller. While I wait the 15 minutes now is the time to get filling together, if you didn't already.


For filling take 1/4 cup of packed brown sugar (brown or light) 1/8 cup of white sugar & 1 tBsp of cinnamon and mix together until well combined.


Now take 2 tBsp of butter and place in the microwave on DEFROST for about 30 second to 1 minute depending on how cold your butter is. You do not want to melt your butter completely. I prefer to have my butter just melted a tad and then I mix butter to get a semi-melt. This makes it easier to spread on dough. If your do add melted butter to dough, that fine too, I just like a thicker coating.


Now time to shape the dough. I do NOT use a rolling pin. I did once, however I found this made my dough to flat/thin. I rather lay out and shape with my knuckles/fingers. Punch your dough down and lay out onto counter. Take your fingers and just start pressing down to break up the bubbles. You want as many bubbles removed as possible. I lightly flatten out dough a little then take each top and side and fold in then bottom.


Now take soft butter and spread all over dough, just leave about 1 inch clean at the bottom, but do all other sides. Then take your filling and dust and spread out, again leaving the bottom portion clean. I like to pat my filling into butter to get it damp, plus helps so filling want fall out as easily once your fold.


Once crimped, roll so seam is on the bottom. Then cut dough down the middle. Then take each half's and cut down middle, keep doing that until your measurements are about 2 inches wide.


Take a 9x13 glass pan (better to bake with) and oil well all sides and bottom. Grab one roll at a time, I grab from the sides, lift then squeeze around so sides meet up, then crimp together.


Once done, cover with a towel or plastic wrap. Place in a warm area. I like to place mine on top of a upside down cast iron pan, that sits on top of my stove. Let dough rise for about 30 minuets. If your rolls have not puffed up, let sit longer. I like to turn on my oven at 350 and while it pre-heats my rolls get fuller. Then rolls will fill the gaps in pan and get taller. Picture below was before I turned my oven on to let rise fro another 15 minutes. I forgot to take another picture before placing in the oven.

Place rolls into the pre-heated 350 degree oven and bake for 17 minuets. While you wait for rolls to bake get glaze ready. Take 2 cup of powder sugar and 2 tsp of vanilla extract. Add 2 tsp of milk or half & half. I like mine much thinner, so I add about 4 tsp of milk. But that is up to you. Please note that you want fresh powder sugar, at times powder sugar can have a strange flavor if it has not been stored properly or it is old. So have fresh powder sugar anytime you make a glaze for the freshest flavor.


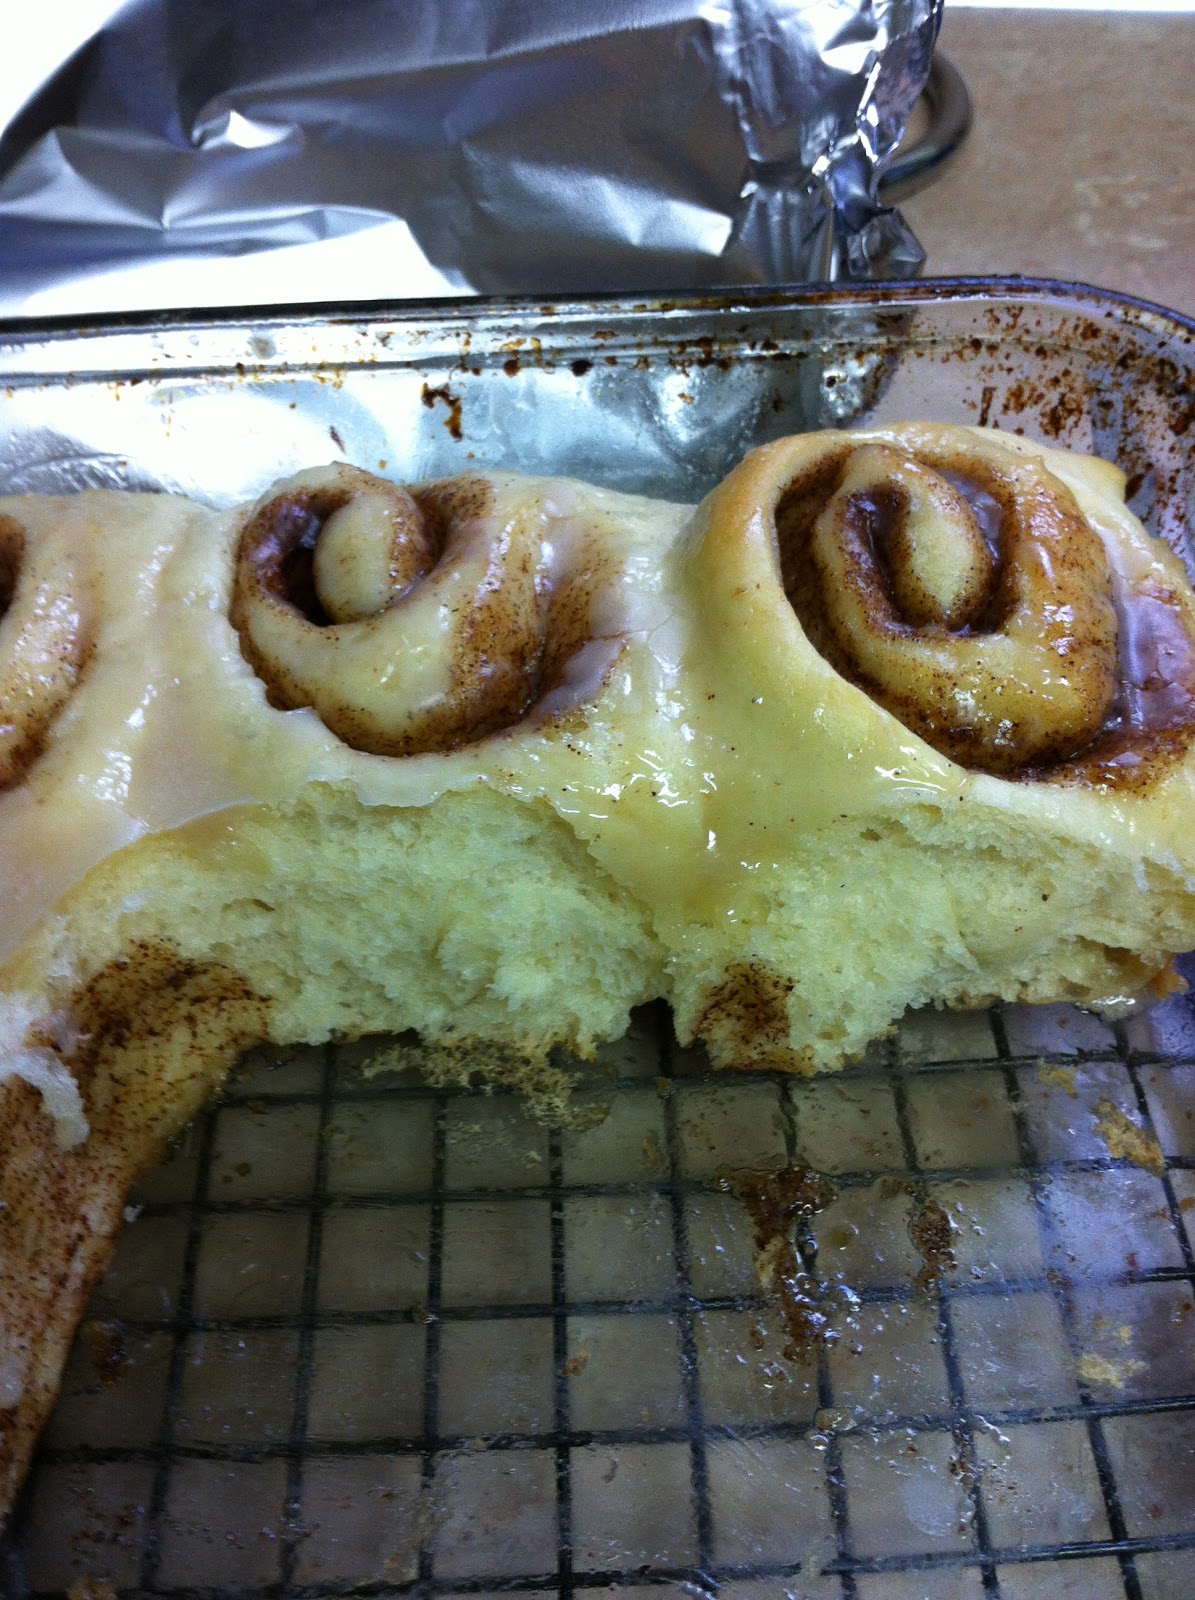
Once rolls are done, they will have a slight golden color ontop, however if you look at sides and bottom of pan, there will be a golden color, your rolls are done (why a glass pan is much better to use).


I like to let my cinnamon rolls sit for 5 minutes then add the glaze while rolls are still hot. You don't have to, you can wait longer, like 10 or 15 minutes.


No comments:
Post a Comment