Pages

March 22, 2012

Beef Cabernet Sauvignon (Budget Beef Bourguignon) no Dutch Oven

I made Beef Merlot or the full name "Budget Beef Bourguignon: Succulent Beef Stewed in Cheap Merlot" by Chef John Foodwish.com, this past weekend using my method, and it was  amazingly good! http://foodwishes.blogspot.com/2008/09/budget-beef-merlot-succulent-beef.html

I LOVE TRADER JOES and I am sorry they are not in every state and city. They make the cost of cooking less expensive therefore more achievable to cook other items on a tight budget. They have a cheap wine they nickname "Two Buck Chuck", its called Charles Shaw. It is their "house wine" and it use to be $2.00, why it had the nickname, the current price is now $2.50 a bottle. The wine is the best wine I have tasted for under $5! Its even better if you let it breath (or just uncork) for a few hours, or better yet for a day or two. So using wine in my recipes is easier because it is more budget friendly. If you are not able to go to TJ, Walmart actually has a cheep wine for $3, I use to buy that in the past, but I enjoy TJ wine more.

I also waited to buy Beef Chuck when it was on sale, I spent $8.00 on the chuck, I could of waited for a better sale but it was a dreary day and I felt like something special. Therefore I was able to make this for dish for around $12.00, it has about 4 servings.

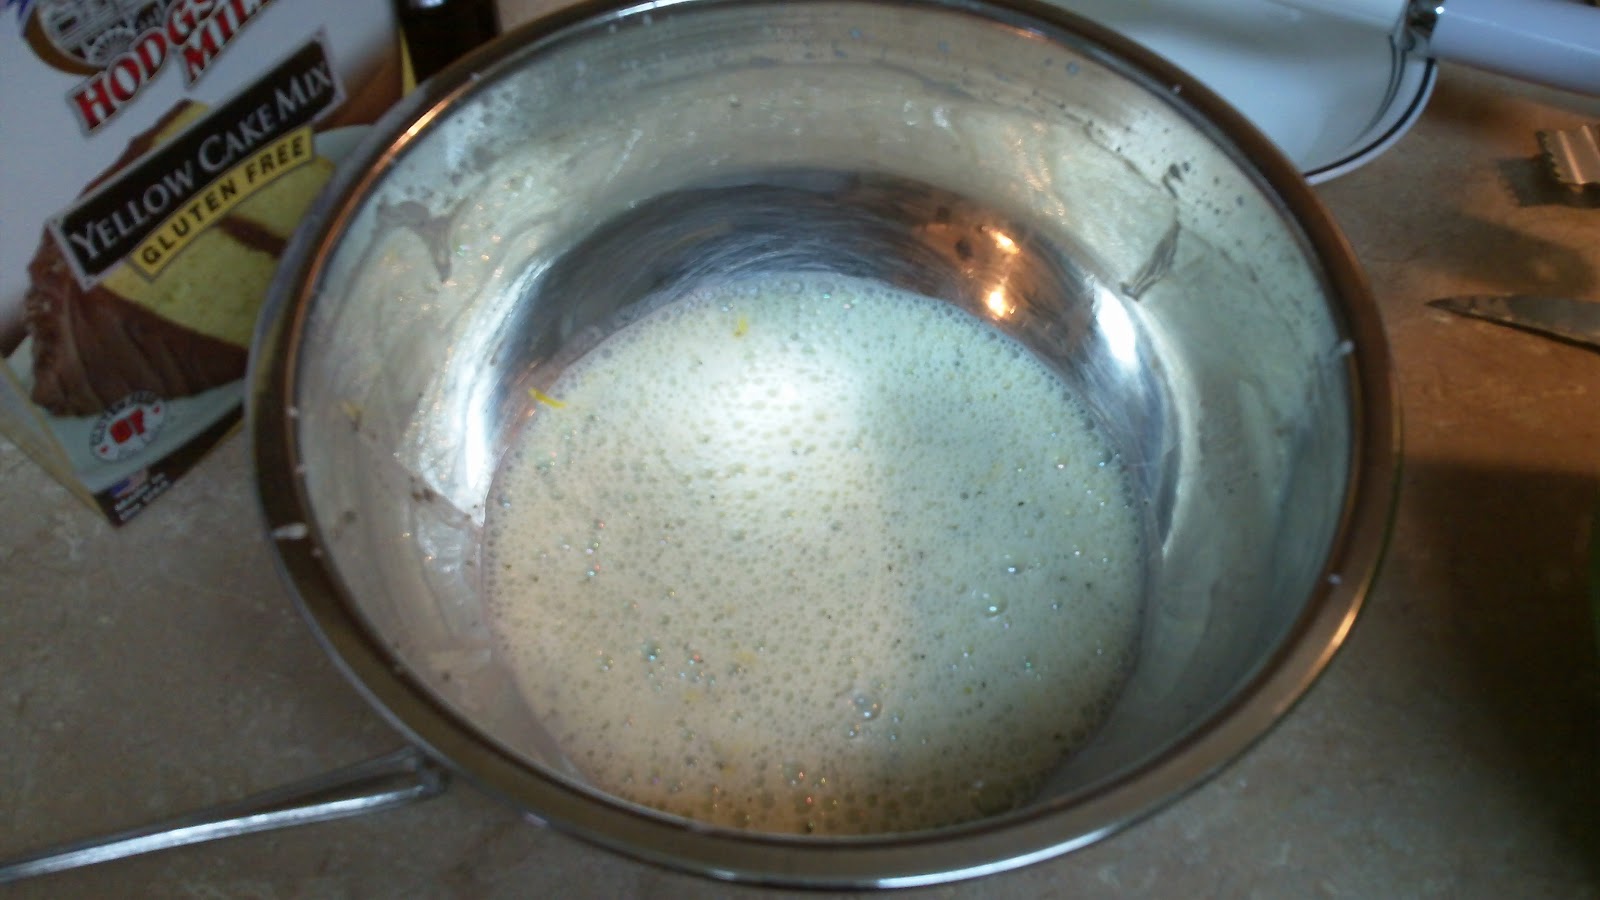
This recipe calls for a Dutch Oven, I do not have one sadly! I use to but now I dont. So I was so desperate to make one I decided to use my cast iron pan and I do have a fairly heavy bottom 12 qt Pot my mom gave me, she has had it for as long as I can recall, i am pretty sure she received it in her first years of marriage. Because when I was 5 years old I was using this pot to cook my first meal, bean soup. So I guess it is at least 30 years old. So if you have at least a heavy feeling pot that requires a little mussel to pick up and you cant easily toss it, then this may work for you. That or go buy a Dutch Oven or a Cast Iron Pot. 

So I did not use Merlot wine because I did not have any, I had Cabernet Sauvignon from Trader Joes, so I hoped it would work just as well, even though I admit TJ Merlot is prob my favorite of theirs.

Basically follow the orig recipe from Chef John video Tutorial, that's what I did.

2 tbsp vegetable oil
2 1/2 lbs beef chuck roast, cut in 2-inch cubes
salt and fresh ground black pepper to taste
1 onion, chopped
1 tbsp butter
2 tbsp flour
2 carrots, cut in 1-inch pieces
2 ribs celery, cut in 1/2-inch pieces
1 bay leaf
4 springs fresh thyme ( I used 1/2 teaspoon of dried thyme)
2 cups merlot, or other red wine
2 cups beef broth
mashed potatoes
Cut carrots and celery at least 1 inch thick, don't dice to small, you want the vegetables not to disintegrate into your sauce. Keeping them in larger chunks will allow vegetables to hold together better. Dice up onion.

Cut Beef chuck into large cubes. Season your beef well with Salt & Pepper.

In my cast iron pan I turn on a high. place oil in pan, then add beef cubes. Let saute on high (turn on your overhead fan for this) for 3 mins until a nice crust, then flip pieces over. Let cook for another 2 min or so. Remove beef from pan into a separate bowl.

Then add onions to cast iron pan (do not clean your pan, you want those flavors) and turn heat down to medium. Let onions saute for 3 min, then add 1/2 table spoon of butter to pan and the flour. Stir and cook for 2 min, until flour is no longer white but not burnt. Then take a whisk and slowly add wine and whisk at the same time slowly...you don't want chunks! Once all the wine is added keep whisking until it seems combined. Then add the last 1/2 tablespoon of butter. Let simmer until wine has reduced by half, took me about 15 min. Once sauce has reached a syrup like texture it good for next step. I compared the texture to chocolate syrup.

Now if you are doing this in Dutch Oven you wont need to transfer your just add your beef. However because I was using my cast iron pan I had to transfer sauce into my larger Pot. Then I added the beef, carrots, celery, and bay leaf. Now I had forgot to buy Beef Stock!!! So I added 1/2 cup of water then I ran to the store, well I decided to take the car because I figured it would be faster. I left and was back home in 20 min. So I then added only 1 and 1/2 cups of the beef stock instead of the 2 cups it called for. I will be honest I don't think it was an issue! Covered the pot, turned down the temperature to my lowest setting so it stayed at just a simmer. Then I let it cook for 1 hour and 30 mins covered. Then took the lid off and let it cook for another 30 min (followed the directions of Chef John). I actually let it cook for another 20 mins in addition to the 30 because the cause was not at the thickness I wanted it to be.  I started cooking my mash potatoes after I lifted the lid off the pot, so once my potatoes was done my Beef was nice and tender.

I dished out a plate of mashed potatoes and topped if with the Beef Cabernet....It was amazing!!!!!!! This is now one of my favorite recipes and I will be making it. Thankfully it wasn't that expensive for me, one I was able to buy chuck on sale and the wine was inexpensive...So I could make this more often then just special occasions. I had enough leftover for Mr.Tasteful to take to work for lunch the next day.


 When cutting up the Beef Chuck, I followed the lines of the fat and separated the meat into the sections (look at the picture above) and then trimmed off the fat, but not perfectly. You dont want to just start cutting the Beef into cubes, by separating into the sections you will have a more tender meat because you are not adding the tough clear membranes.


 Sauteing on high heat
 nice coating
 my chunks were about 1/2 inch

 It was super hard to take this picture because I did not want my sauce to have chunks in it.
 Once all the wine was added I just let it simmer and whisking occasionally
 See how the sauce now has that syrup like consistency when I move my whisk through it?

 Now my Beef will cook for 1.30 mins.
 After the 1.30 mins I lift the lid
0
 Let simmer for another 30 mins (my total was 50 min)
 Serve over Mashed Potatoes

Using Leftover Meat Sauce for a Hearty Meat Minestrone Soup

This recipe uses my Meat Sauce of Ground Beef & Sausage http://newmomstartingfromscratch.blogspot.com/2012/03/meat-sauce-with-ground-beef-and-sausage.html to make this Leftover Hearty Meat Minestrone Soup.This soup is basically inspired by Minestrone Soup, but not a true Minestrone Soup. Now you don't need to use my leftover meat sauce recipe to make this soup, I am sure the idea will work with whatever you have, even if it is a jar of prepared sauce. However, my meat sauce has ingredients that don't require you to add ingredients to this soup recipe (also allowing to cut cost) so if you make this version I don't want you to be disappointed if your version seems to be missing something, but don't be afraid to try it with what you have!

3 cups of Leftover Meat Sauce
2 Carrots diced
2 Celery Sticks diced
1 small onion diced
2 cups of Beef Stock
1 15oz can of White Kidney Beans or called Cannellini OR Dark Kidney Beans
1 tablespoon of Worcestershire Sauce
1 Zucchini diced
1/4 cup of frozen green beans
1/4 cup chopped frozen spinach.
1 cup of cooked macaroni noodles (cook separately from soup, or use whatever leftovers you have)


Some other ingredients you could add to this soup, depending on your taste buds is.... If you want a vinegar salty depth add  1/4 cup of sliced Green Olives, or add 1 tablespoon of Capers. If you want some extra heat add a pinch or 1/4 teaspoon of red pepper flakes depending on your heat preference. Or use 1 tablespoon of pickled/jar sliced jalapenos, this will also give heat and add some vinegar saltiness.

Depending on what you have on hand this Soup should cost you less then $5 and equal about 8-10 servings. You get a lot of bang for you buck when you use my Meat Sauce recipe.

Saute your onions, carrots and celery all together with a dash of oil in pan. Let saute on a medium temperature for 5 min, then add Worcestershire Sauce and let simmer for 2 mins or until liquid seems reduced into onion mixture. Then add everything else but the pasta, zucchini, spinach and green beans. If you are using fresh green beans and not frozen you could add now.

Now I let my soup cook for 4 hrs on a very low temperature, you don't need to cook it that long. I think 2 hours is plenty! Even if you only cooked for 30min to 1 hour, that should be fine. However if you are doing a short cook, add everything at once (but noodles) and don't hold back. Do not add salt or pepper until you taste it, may not need it. Depending on how long you choose to cook soup, just wait to the last hour to add the frozen green beans, zucchini and spinach.

 I realized after I cut the carrot I need to dice into smaller pieces because I have a toddler, personally I like the rounds better for look.
 Worcestershire Sauce
 Added Zucchini, Frozen Spinach and Green Beans.
 Getting ready to serve
 Sorry not a good picture...I was in a hurry and was going for my 2nd bowl when I realized I never took a picture. Mr Tasteful had locked himself out of his car at Costco, so I had to rush to his side to unlock the car, then I only had 10 min to eat before my 7:30 appointment. So I did not have time to clean up my bowl it looks messy...But this soup was amazing!!!! So many depth of flavors from my original recipe of Meat Sauce using wine and sausages, then my leftover soup having Worcestershire Sauce, it was great depth of flavor.


Meat sauce with Ground Beef and Sausage

(No pictures at this time of the cooking process, my photo was my leftover sauce )

I made some great meat sauce that I was very proud of last night. I made Beef Merlot by Chef John Foodwish.com, this past weekend using "my method", and it was  amazingly good! I will post recipe one day LOL, when I have time. But making that recipe helped me with the idea of using Wine to cook with. Now this may not be a new idea for anyone else, but for me it was something new that I "learned". I have used wine before to cook my Spaghetti Sauce only I did not enjoy it as much, and bc the cost of wine is an expensive ingredient I choose not to use wine.

 I LOVE TRADER JOES and I am sorry they are not in every state and city. They make the cost of cooking less expensive therefore more achievable to cook other items on a tight budget. They have a cheap wine they nickname "Two Buck Chuck", its called Charles Shaw. It is their "house wine" and it use to be $2.00, why it had the nickname, the current price is now $2.50 a bottle. The wine is the best wine I have tasted for under $5! Its even better if you let it breath (or just uncork) for a few hours, or better yet for a day or two. So using wine in my recipes is easier because it is more budget friendly. If you are not able to go to TJ, Walmart actually has a cheep wine for $3, I use to buy that in the past, but I enjoy TJ wine more. So this post is suppose to be about??? LOL Oh yes, Meat Sauce! My meat sauce turned out successfully using wine this time, and with Two Buck Chuck I will do again, and again and again :)

My tip for using Canned Tomatoes is this...Don't buy the cans of Tomato Sauce, buy either Whole Tomatoes or Crushed Tomatoes, why?  Personally I find that the more they cook the tomatoes it changes the flavor and the canned Tomatoes (with the exception if you can them yourself) taste more bitter. So I have found better success NOT using Canned Tomato Sauce.

2 - 29oz cans of Crushed Tomatoes
1 14 oz can of Diced Tomato
1 lb 80/20 Ground Beef
Pkg of 4 Sweet Italian Sausage (I used Trader Joes)
1/2 Cup of Red Wine ( I used what was open Shiraz)
1 Medium Yellow Onion (I was able to buy Organic Yellow onions 3lb bag for $2 )
4 cloves of Garlic (diced)
Dried Herbs: 1 tablespoon of Sweet Basil, 1/8 teaspoon of (or pinch) Rosemary, and 1/2 teaspoon of Thyme. Then Salt (if need, only measure 1 teaspoon of Salt) & Pepper to season to taste.

Place a heavy pot on high heat and break up ground meat into large chunks, just use your hands. You want the meat to brown for 2 mins, then add diced onion and cook for 1 min then turn heat down to a medium-high heat. Let cook for 5 min. Then add 1/2 cup of wine. Cook until wine seems reduced and creates a thick type of sauce, the texture of chocolate syrup. Took me about 5 mins to get the right consistency. Next add diced garlic and all the dried seasoning and salt & pepper. Stir together until combined let simmer for 1 min. Next add cans of Tomato sauce and diced tomato. Let simmer, in the mean time take each link of Sweet Italian Sausage and cut into 3 sections, about 2 or 3 inches thick. Once your sauce has began to simmer add sausage to pot. Place lid on pit and turn down temperature to a Low simmer, depending on how your stove top radiates heat will depend on what temperature this requires. I have to place mine on a level 2, then on Low. Let cook for at least 2 hours.

You could cook this for longer then 2 hours, just be careful not to let liquid reduce so much that it burns, you may need to add 1/2 cup of water after the 3rd hour. If you plan on letting this simmer for longer then 3 hours, I would add extra wine in the beginning because adding water will water down the flavors. So use 3/4 cup of wine at the beginning of processes. If you want to use a crock pot, make sure your brown the meat,onions and reduce wine in a separate pot/pan, then add to crock pot once your are ready to place cans of Tomatoes and simmer on low for 8hrs.

The total cost for this sauce was about $10, I am able to get at least 8 to 10 servings. It all depends of course how much you are able to buy your ground meat, sausage and cans of tomatoes. The ground meat at Trader Joes is $2.50 for 1lb, and the sausages cost $3.00. I was able to buy the 29oz can of Crushed tomato for $1.29 each and the diced tomato for $.59 and of course my bottle of wine was $2.50 (only used 1/2 cup though).

Next I will be using my leftover Meat Sauce to make into a Soup as an alternative leftover recipe. Of course I LOVE meat sauce and spaghetti and would always eat it the original way it was intended for LOL but my Mr.Tasteful prefers to eat pasta once a week. So with the exception of about 2 cups I have reserved for myself to use with pasta, I will have about 3 cups leftover to use in a soup.

I know this is a horrible picture!!! I am ashamed to post it, but I never got around to taking a picture. But this was my sauce the next day after I removed my 3 cups for my Leftover Meat Sauce soup. I will try and take a picture when I make my leftovers.I can tell by this picture how important presentation is, please do not let this discourage you from trying this recipe. It is a good one!


March 06, 2012

Gluten Free Jasmine Lemon Cupcakes


Yep I said Gluten Free! I am not on a gluten free diet, however I do have family members that choose to follow it for their health. Therefore when I entertain them I try my best to create something for them that is gluten free. I have not ventured out into making mixes from scratch  because I know it takes a little more practice to find the right texture using various flour alternative's.

I decided to take the easy and honestly the least expensive path to making some gluten free cupcakes, my secret? The Hodgson Mill Gluten Free Yellow Cake Mix.  http://www.hodgsonmill.com/about-hodgson-mill/recent-news/gluten-free-mixes/ (LOL) This was an excellent mix and I will use it again, I cant wait to try their chocolate cake mix. Here in Oregon I can find it anywhere I go, I bought mine at Walmart and it was under $3.00 for the box. Of course if you can not find this mix, use whatever you can find that you like.

I was hosting Tea Time for a couple of friends and family members who have been very giving to me and I wanted to share my appreciation for them. So I took a month of planning (and saving) to host Tea Time. It worked out very well and I have some great memories to hold onto. Gluten Free Jasmine Lemon Cupcakes is one of the recipes I wanted to share with you from my Tea Time. Now you don't have to make this gluten free, just use whatever mix you like. One thing I used was Low-fat Buttermilk instead of whole milk or a low fat milk. I am interested to try the Low Fat Buttermilk with a non gluten free cake mix to see how it compares. I do recommend that you use the buttermilk with the gluten free recipe, if you can.

Here is my Tea Time tables escape. 
 This picture shows some of the other finger foods I made. Open face Waldorf Chicken Salad on sourdough bread. Polenta rounds topped with Pesto, Sun-dried Tomato and Feta Cheese. Cucumber cups filled with Tomato & Basil Hummus, and a Roasted Pecan Blue Cheese Dip.

Okay onto the direction for my cupcakes.

 Pre-heat oven to 350

1 Box of  The Hodgson Mill Gluten Free Yellow Cake Mix
2 whole Lemon
3 Bags of Jasmine Tea Bag
1 container of Vanilla Frosting
1 stick of butter softened
1 cup of buttermilk
2 eggs room temp
1.5 tsp of vanilla extract

Basically for cake mix I just followed the box instructions. The one thing I have learned was to make sure that my butter and eggs are at room temperature, I also allowed my buttermilk to sit out for 30 minutes to take the cold chill off. Why? Well this helps with whipping the batter, it makes it much smoother and fluffier (secret to most any cake). If your butter is kept in the freezer like I keep mine, you can always place the butter into your microwave and on the DEFROST setting defrost for 1 minute. This will help speed up the softening process without it melting the butter. Also you can even do this if you keep butter in refrigerator, only defrost  for 30 seconds.

  Take buttermilk and measure out 1 cup. Then cut open two bags of Jasmin Tea and pour into the buttermilk, mix together and let it sit out for 30 minutes.

Have two separate bowls, one for your butter and the other for your wet ingredients of eggs & buttermilk.

Take your electric mixture and whip your butter, start on a lower speed and after a 30 seconds turn speed to the highest setting. Mix for 3 minutes until butter looks fluffy and smooth.

Make sure your eggs are at room temperature because if you don't once you add it to the butter it will cause the butter to separate and loose its fluffiness. If you need a quick way to get your eggs at room temperature just place them in some lukewarm water (please not hot because you don't want to cook your eggs) and let them set in the water for about 10 minutes. Place eggs into a separate bowl from the butter. With your electric mixture whip eggs together for 2 minutes. Then add the buttermilk and jasmine tea mixture to eggs.

Then zest 2 lemons of all its skin and put zest into egg mixture. The add the vanilla and mix all together for one minuet.

Take flour mixture and with a spatula mix with butter.

Then take egg mixture and mix into the the butter and flour mixture on a low speed, then turn to a higher speed for two minutes until smooth. 

Then  spray your muffin pan with canola oil, make sure pan is well coated so nothing sticks to pan. Ladel batter into pans. It is a VERY THICK batter. So you will need to scoop into pan. Then try and smooth them out, I had to bounce my spoon up and down to keep them to flatten. Make sure it is all even. I was able to make 12 cupcakes and bake on 350 for 20-25 minuets. Mine took 25 minutes.


While your muffins are baking you can work on your frosting. Take half of the container of vanilla frosting, add a bag of Jasmine tea and the juice of your lemon and mix together. You can add more lemon if you want a stronger taste. The frosting will have a nice little crunch due to the Jasmine tea. Place in refrigerator until ready to use. I made mine a day ahead and when I was ready to use it the next day just whipped it with a spoon and let it sit out to get a little softer so I could spread on cupcake.

Once your cupcakes are completely cooled then you can frost them. I personally did not frost the Gluten Free cupcakes the day before because in the past I found the cupcakes can get soggy, so I would frost the day you will be eating them. After I baked my cupcakes I placed in an airtight container on my counter until I frosted them the next morning, then after I frosted I placed in the refrigerator to be served later that afternoon.


 Here is the my cupcake on the table. I used it also as a name tag for seat placement.